
Category: Productive Living

  • The $20 Rule: How I Turn Clutter Into Cash on eBay

    The $20 Rule: How I Turn Clutter Into Cash on eBay

    Most people think you need a fancy side-hustle — dropshipping, coding a SaaS, building a massive personal brand — to make money online. My dad spent over twenty years turning other people’s junk into profit on eBay, and the items gathering dust in your garage right now could be an untapped revenue stream. You don’t need much specialized equipment to get started; you probably already own most of it.

    Below is the exact system I use, broken down step by step. It’s built for complete beginners who have never listed anything on eBay before.

    1. Decide What Goes

    Anything you haven’t used in six months — or that you could easily replace — should go.

    Walk through your house and look at everything that’s collecting dust. If it’s taking up space and you haven’t touched it in six months to a few years, it probably isn’t worth keeping. Ultimately it’s your call, but if you’re on the fence, let it go.

    Two questions help me decide:

    • How easy would this be to replace if I later found out I wanted it back?
    • Do I only use this seasonally or rarely — and could I rent it instead of owning it?

    I like to make an actual physical pile in a spot I walk past often. It’s a visual reminder that I’ve got work to do.

    2. Set Your $20 Threshold

    If a comparable item regularly sells for less than $20, I don’t list it.

    Once you’ve got your pile, set a price floor. A good rule of thumb: what would you want to be paid for an hour of work? By the time you research, photograph, list, package, and ship an item, you’ve usually spent about an hour on it. For me, that number is $20 — if similar items aren’t selling for at least that much, it’s not worth my time.

    How to check: Go to eBay’s advanced search, select “sold items,” and search for what you’re trying to sell. You’ll see everything that’s sold in the last 90 days matching your search. If comparable items are going for $20 or more, it’s worth listing.

    3. Bundle When It Makes Sense

    Sometimes individual items don’t clear the $20 bar, but bundled together they do. I once inherited a ridiculous number of ties — a few were worth $20+ on their own, but most weren’t. So I sold the rest in bundles of 10, 20, 50, even 100. On eBay, the keyword for this is “lot.”

    4. Capture Good Photos with Zero Gear

    You don’t need a fancy camera setup — just two things:

    • A lens-cleaning cloth, so your phone camera isn’t shooting through smudges.
    • A neutral background. I use an oversized black yoga mat in my garage, with the garage door open for indirect natural light.

    Photograph the item from every side. If there’s a brand name or text on it, get a clear, readable close-up of that too.

    5. Calculate Shipping Up Front

    I calculate shipping right after taking photos, rather than waiting until later.

    Here’s my process:

    1. Find a box the item fits in.
    2. Weigh the box, then add 8 oz–1 lb to account for packaging material.
    3. Measure the height, length, and width.
    4. Plug those numbers into eBay’s shipping calculator.

    I always calculate for the longest possible distance — since I’m in Oregon, I use an Oregon ZIP code as the origin and a New York ZIP code as the destination. The calculator will show rates for different services. USPS is usually cheapest for smaller items; FedEx often wins for larger or oddly shaped items.

    Whatever the cheapest option costs, I round up to the nearest $2 or $5 interval. So if shipping comes out to $10, I list it as $12. If an item needs to ship FedEx, I make a note of that too — it affects the listing description later (no PO boxes, etc.).

    6. Get the Images onto Your Computer

    I use Google Photos, since it automatically syncs with my phone. I just log into the Google Photos website on my computer and download the pictures from there — grouped by item, so each item’s photos stay together in their own folder.

    7. Write the Listing (Keep It Simple)

    You’ve already done most of the legwork. Remember that eBay “sold items” search from Step 2? Find a sold listing that closely matches your item, and look for the “Sell one like this” button. Click it, and you’ll have a template ready to go.

    From there:

    • Tweak the title if your item has notable differences.
    • Avoid ALL CAPS in titles — it reads as obnoxious.
    • Drag in your photos, leading with the one that best shows the item as a whole.
    • For the description, start by pasting in the title, then add any details the photos might not fully capture (a scratched screen, for example). Even if it’s visible in photos, I like to call it out directly — at minimum, I’ll add “item is as pictured.”
    • Note shipping terms clearly: “Buyer pays $X shipping, US sales only.” For large items shipping FedEx, I also add “No Alaska, Hawaii, or PO boxes” — those destinations cost significantly more and FedEx won’t deliver to PO boxes anyway.

    8. Schedule Listings for Maximum Visibility

    I’m on the West Coast, so I schedule listings to end during buyers’ evening hours nationwide. I start my earliest listings at 4 PM PST (7 PM EST) and stagger new ones every 15 minutes until 6 PM PST (9 PM EST). That way, no matter where a buyer lives, listings tend to close around the time they’re off work.

    9. Choose Auction or Buy-It-Now

    For a first listing, I always start with an auction. Here’s why: if I have something hard to find and price it at a flat $50, the first buyer willing to pay gets it for $50 — even if others would’ve paid $100 or $120. An auction lets demand set the price instead.

    If it doesn’t sell after the auction, I switch to Buy-It-Now at that same price, give it a few weeks, and if it still doesn’t move, I gradually lower the price until it sells.

    10. Fulfillment: Ship Fast, Pack Securely

    Once an item sells and payment clears, it’s go-time:

    1. Use a heat gun to remove any old labels or stickers from the box.
    2. Print the listing’s first page (photo + title) as a makeshift packing slip.
    3. Fill the box with packing material so nothing rattles around — saved Amazon packaging works great here.
    4. Tape the box shut, covering the top seam and the side seams for extra security.
    5. Weigh the sealed box and write the rounded-up weight on the side (e.g., 1 lb 6.8 oz becomes “1 lb 7 oz”).
    6. Add the box’s rounded-up dimensions.
    7. If you’re shipping multiple items that day, jot a quick 1–5 word description on the box so you don’t mix up orders.
    8. Enter the final weight and measurements to generate and print your shipping label.
    9. Trim the label neatly, tape it over the weight/dimensions notes, and drop it off at the post office or FedEx.

    11. Under-Promise, Over-Deliver

    eBay’s default handling time is three business days. I leave that setting as-is, but I actually ship out the next business day whenever I can. Buyers love getting things sooner than expected.


    TL;DR — Your One-Week Starter Plan

    1. Walk your house and pull out stuff you don’t want or use.
    2. Search each item in eBay’s Sold Listings and note the median price.
    3. Keep only items selling for $20+; bundle low-value multiples into “lots.”
    4. Photograph with your phone, natural light, and a neutral background.
    5. Weigh and measure, calculate worst-case shipping, round up, and list as “buyer pays shipping.”
    6. Sync photos to Google Photos, then download them into folders by item.
    7. Copy a proven title and description, then edit for your specific item.
    8. Schedule listings from 4–6 PM PST, staggered every 15 minutes.
    9. Start with a 7-day auction; switch to Buy-It-Now if it doesn’t sell.
    10. Ship the next business day when you can — people love getting things early.

    Give this a try and let me know how it works for you — and what you’d do differently.

    Happy hunting, and happy selling!

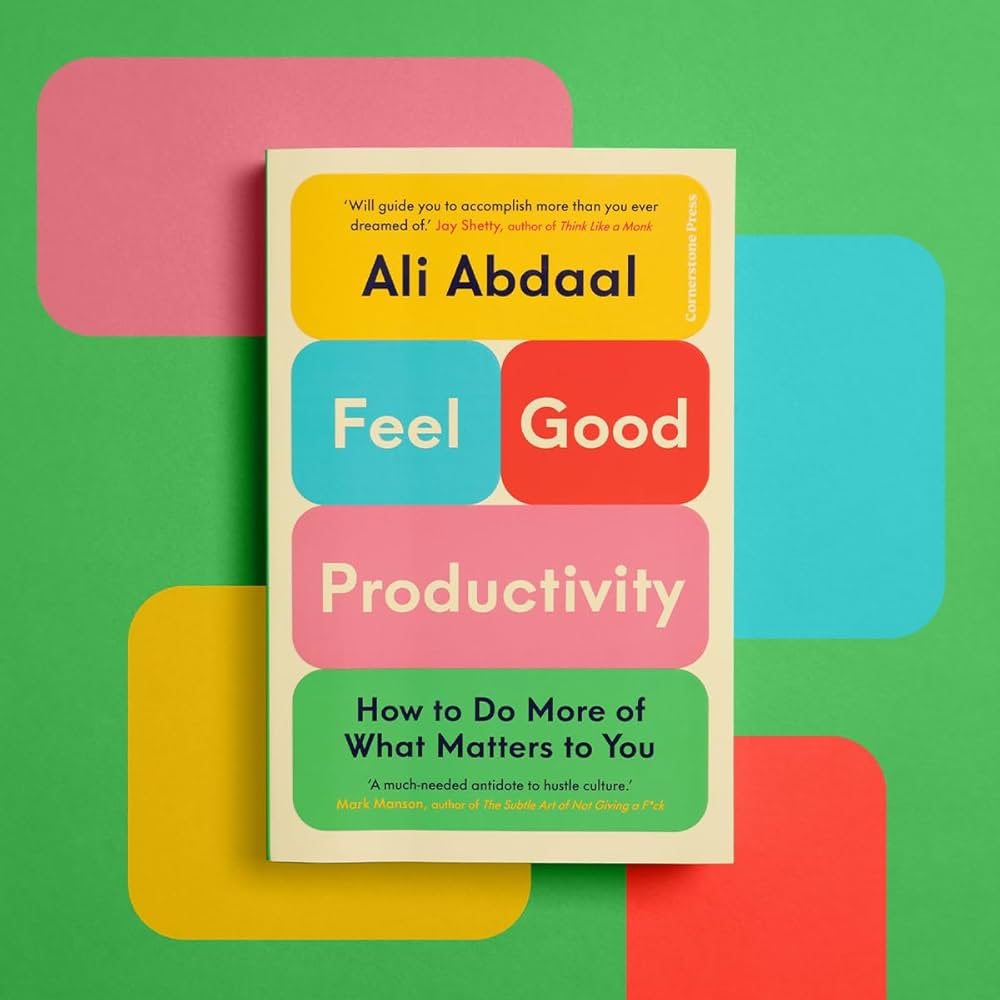
  • Feel Good Productivity: When Willpower Fades

    Feel Good Productivity: When Willpower Fades

    Most productivity advice is secretly just guilt in a better font. Do more. Wake up earlier. Grind harder. And for a while, it works — until it doesn’t. I’ve had stretches where I was technically “doing everything right” and still felt completely drained, like I was pushing a boulder uphill just to keep up.

    That’s what made Ali Abdaal‘s Feel-Good Productivity land differently for me. The argument at its core is disarmingly simple: feeling good isn’t the reward for being productive — it’s the engine of it. When you feel better, you naturally achieve more. Not because you’re trying harder, but because the resistance is lower.

    Who is Ali Abdaal?

    Ali is a doctor-turned-creator who built a massive online following while still in medical school. He spent years obsessing over productivity tips and tricks before eventually arriving at a conclusion that cuts against most of the advice in that space: discipline-first thinking is fragile, and mood-first thinking is what actually lasts. If you’re more of a visual learner, his YouTube channel is worth bookmarking — he goes deep into the science behind these ideas and has a way of making dense research feel genuinely watchable. I’ve come back to his videos more than once.

    1. Energise: Turning Work into Play

    The first section of the book is about energy — specifically, how play is one of the most underrated ways to generate it.

    The idea that stuck with me most is deceptively simple: ask yourself, what would this look like if it were fun? Not every task can be made exciting, but most can be made slightly more tolerable with a small shift. One idea I use often is when doing a boring task, have good background music, but nothing with lyrics, he recommends Harry Potter movie scores. Abdaal also talks about confidence not as something you either have or don’t, but as a skill you practise — acting as if you’re confident in a task until the belief catches up with the behaviour. I’ve found this more useful than any pep talk.

    He also pushes back on the idea that success is zero-sum. Treating the people around you as teammates rather than competition doesn’t just feel better — it creates a support network that keeps you going when motivation runs dry.

    2. Unblock: Overcoming Fear and Inertia

    Procrastination, Abdaal argues, is rarely laziness. It’s usually an emotional signal — uncertainty, fear, or just the weight of inertia when you haven’t started yet.

    His answer to vague, overwhelming goals is what he calls NICE goals: Near-term, Input-based, Controllable, and Energising. The distinction matters because abstract goals (“get fit,” “finish the project”) give you nowhere to put your energy. Concrete, near-term inputs do.

    Two other tools I keep coming back to from this section: the Batman Effect, where you adopt an alter ego to distance yourself from anxiety — Beyoncé famously used “Sasha Fierce” for this — and the five-minute rule, where you commit to just five minutes on something you’ve been avoiding. It sounds too simple, but breaking the initial inertia really is most of the battle.

    3. Sustain: Preventing Burnout Through Alignment

    The third section is the one I think gets overlooked most in conversations about this book, and it might be the most important.

    Abdaal’s point here is that burning out isn’t just about doing too much — it’s often about doing too much of the wrong things. The “Hell Yeah or No” rule is essentially a filter: if you’re not genuinely excited about a commitment, the answer is no. Every yes is a no to something else you actually care about. It’s the same insight at the heart of Greg McKeown’s Essentialism — saying no isn’t about being difficult, it’s about protecting what matters.

    He also makes a distinction I found genuinely useful about rest. Not all rest is restorative. The activities that actually recharge you tend to make you feel Competent, Autonomous, Liberated, and Mellow — what he calls the CALM framework. Passively scrolling doesn’t meet that bar. A walk, a creative hobby, or time with people you like usually does.

    The section closes with a simple daily practice he calls Alignment Quests — each morning, pick one small action for health, one for work, and one for relationships that moves you toward the life you want a year from now. It’s a way of keeping daily effort connected to something larger than the to-do list.

    Think Like a Scientist

    The throughline of the whole book is this: there’s no single right way to work, and the people who figure out how to work well treat themselves like an ongoing experiment. Try things. Notice what actually makes you feel better. Adjust.

    That framing has changed how I approach my own habits more than any specific tip in the book. If you’ve ever felt like the traditional “push through it” approach to productivity just isn’t sustainable for you, this book makes a compelling case that you’re not wrong — and offers a better way forward. If you want to go even deeper on working sustainably, Cal Newport’s Slow Productivity makes a powerful companion read.

    If any of this resonates, I’d genuinely recommend picking up a copy of Feel-Good Productivity. And if you want to go deeper on the science behind it, Ali’s YouTube channel is the place to start. It was the reason I picked up the book in the first place.